Showing posts with label crafts. Show all posts

Wednesday, April 27, 2011

Creative Easter Eggs

With things being super crazy around my house as of late, I forgot to post this before Easter-better late than never, right? Now you'll all be very prepared for next year. :)

Megan, at Not Martha, created these A.M.A.Z.I.N.G chocolate filled real eggshells. Are these not the most fabulous things you've ever seen??? They are filled with lots of yummy, little treats and a small gift. What a fanflippintastic idea and beautiful photography!!! *I originally ran across this tutorial while reading this article on MSN about Easter eggs. They have some absolutely stunning ones that they've showcased.


I was perusing Martha Stewart's site and found these beautiful eggs. I wish I had the time to make some of these babies! They too are made using real egg shells and are decorated with fabric trim. Sooooo creative!

Thursday, April 21, 2011

Guest Blogger: Landee-Spiffy Easter Eggs

In celebration of one of my favorite holidays, I wanted to share this incredible idea with you (and check out her gorgeous photos! I'm drooling)! Landee from Landee See, Landee Do, is a girl after my own heart and totally blinged out her Easter eggs! Unique colors, unique styles, unique eggs. I love them. I will be making some of my own Landeed eggs, as well as sharing some of my own "spiffified" eggs with you soon. Take a second to pop on over to her blog and tell her what an amazing gal she is! Thanks again, Landee for the amazing tutorial!


This could also have been called "Not Your Mother's Easter Eggs." Nothing against YOUR mom, of course. You know what I mean.


I was in the grocery store and saw Family Fun magazine's Easy Crafts for Kids. I thumbed through it for a minute and saw that they had a little section on different ways to decorate Easter eggs with your kids. You know... put rubberbands around them before dying them, roll them across bubble wrap which has a layer of craft paint on it, etc. One of the suggestions was to do this:


Put glue dots all over the egg and then douse in glitter. It looked adorable! And it got me thinking (p.s. I love my daughter's chipped fingernail polish and digging-for-rocks-dirt-under-nails look).


I then came home and got cracking on making some spiffier eggs. Spiffy is my Dad's favorite word, and for good reason. Say it out loud. Spiffy. SPIFFY. SPIFFY!! See?


So I had a TON of those dense styrofoam eggs I had gotten on clearance last year after Easter.


They are cute, traditional and look adorable in glass vases. I decided I could sacrifice a few to give them new life and make them EGG-stra special (couldn't resist, sorry). I'm sure any of these things could be done on actual hard-boiled eggs as well.


To begin with I painted the eggs some bolder/fresher colors.


Sticking the wooden skewer in them was a life saver. I also spray painted some to see how the shinier look would be. Both ways worked great. It all depends on the look you're going for. The skewers were also nice for letting them dry. I figured I'd either cover the holes later or no one would see them when they are nestled down in a basket anyway. Doing this with hard-boiled eggs is not recommended. :)


When the paint dried, the bling-ing began....


Bling Treatment #1


Metallic Flower


Need: metallic craft paint, wooden skewer, various craft/scrapbook gems (I'm sure you have some in your stash)


Dip the blunt end of your skewer in the paint and dot it on the egg 5 times to form a flower. With the paint still wet, add a gem to the center.


Repeat until you get the look you want. Different paint and gem colors create totally different looks.


Bling Treatment #2


Metallic Paint Dots


Need: Metallic paint, wooden skewer


Same idea as the flowers but even easier & faster! Just dip the blunt end of the skewer in the paint to make cute dots all over.


Bling Treatment #3


Simple Vinyl Designs


Need: vinyl designs from Silhouette or other cutting device.


A simple monogram is classy.


Adorable bunny shape.


Although, next time I would probably cut him a little smaller as it was tough smoothing him out around the curve of the egg. It's still not totally smooth actually.


One of Silhouette's borders wrapped around the egg is TDF.


Bling Treatment #4


Vinyl plus Gems!


This was the obvious next step, right?


And after a couple hours of really fun crafting you end up with this!


I love my new spiffy eggs.


Will you be spiffy-fying or is traditional the way to go? Any other ways to spiffify? Please share!


Linking Up to:


Tuesday, March 22, 2011

El Cheapo 7: Personalized Picture Frame

This project didn't turn out how I thought it would. But I still like it. :) I wanted to have a personalized picture frame to hang in Larzy's room, and this popped into my head. I think if I were to do it over again, I would make his name larger. I also liked this project because it has endless possibilities! Like flowers surrounding a little girl's picture, or one labeled "grandpa", etc. This would make a great gift for grandparents!

Materials:
1-picture frame ($3.50 at Target)
scrap vinyl or letter stickers
etching cream from a friend or purchase it (lots cheaper with a 50% off coupon at Joann's)
Tape
Foam brush

1. Take the glass out of the frame and tape of a square large enough to hold your letters.


2. Apply the etching cream to the taped off space with the foam brush, making sure to follow the application directions given on the bottle. After about 3 minutes, rinse off your glass with tap water and wipe dry with widow cleaner. Peel off the tape.


3. Lay your vinyl letters in the predetermined position and adhere.


4. Put it all together and you're done!

Tuesday, March 15, 2011

El Cheapo 5: Mini Mitten Monster

I am a huge fan of knitted monsters, so when I saw a pair of darling orange and green striped mittens in the $1 bin at Target, I knew they were destined to become a monster softie. Here is a quick tutorial so you can make your own!

Materials:
1-pair knitted mittens-$1 at Target
2- buttons
fabric or felt scraps for the mouth
Stuffing-under $2 at Walmart or Joann's


1. Take your mittens...

...and cut off the thumbs and the elastic band.


2. Then cut off the excess material on the bottom of the thumbs. These will become the arms of your monster.


3. One side of your mitten will be cut up nearly to the top, because you removed the thumb. On the other side (where my finger is pointing) you need to make a slit, the same width as your arm.


4. Turn your mitten inside out and slide your pre-stuffed arm into the slit (right sides are together).


5. Surge or zig zag stitch to hold the arm in place and finish off the seam. Slid the other pre-stuffed arm to the top of the slit on the opposite side and finish off the seam with a zig zag stitch or surger.


Turn your monster right side out again. It should look like this...


6. Using your scrap red felt, cut out a rounded rectangle.


7. Then cut out two teeth shaped strips from white felt. Hot glue the teeth to the mouth and trim the excess white felt.


8. Sew on the button eyes and hot glue the mouth in place.


9. **There is no picture for this step** Using the other body of the glove, make two legs for your monster and finish them of by either surging or zig zag stitching.

10. Slip the legs into the bottom of the monster, pin, and secure with a zig zag stitch. You're Done!!!
*AFTER mine was finished I decided that I didn't like the fringe look so much. If I were to do it again I would turn under the raw edge so everything had a nice clean look*

Thursday, March 10, 2011

El Cheapo 4: Natural Green Wreath

As we all know, wreaths are very popular right now. This wreath actually turned out very different than I was expecting, but I still love it! It was a quick project-about 1 hour-and came in under the $5 budget. This "natural" green wreath is my ode to spring and I hope that you will love it as much as I do!

Materials:
1-18" wreath-Dollar Tree, $1
1-bag of moss-Dollar Tree, $1
1-bag white potpourri-Dollar Tree, $1
1-bag green potpourri-Dollar Tree, $1
Hot glue gun
Scrap ribbon


1. If using the bagged moss, begin gluing moss all over the wreath. If using a moss mat, like I did, cut it in strips and wrap/glue around the wreath.


2. Arrange the different pieces of potpourri until you like it and glue in place.

3. Using your scrap ribbon, make a bow around the wreath and hang. :) Congrats! You're done!

Tuesday, March 8, 2011

El Cheapo 3: The Little Gingerbread House

This is not a "new" project, but it's one I haven't seen in the blogosphere yet. I loathe making gingerbread houses because the cookie crumbles, doesn't fit like it should, and is an all around pain in the rear. This simple solution makes my holiday's happier, because I can just wash it and reuse it for any occasion!

Materials:
1-4X8 sheet masonite board, 1/4" thick-just under $7 (I count this as a $5 craft because I'm using the rest of the masonite for a different project later on this month
A permanent marker
Gingerbread house pattern, downloaded and cut out (from the internet)

1. Have the nice man at the hardware store cut it into 3 sections for you. Download your favorite gingerbread pattern from the internet and cut it out. *I didn't provide a pattern b/c I've been having problems with my scanner and I don't know how to do it any other way. Sorry!


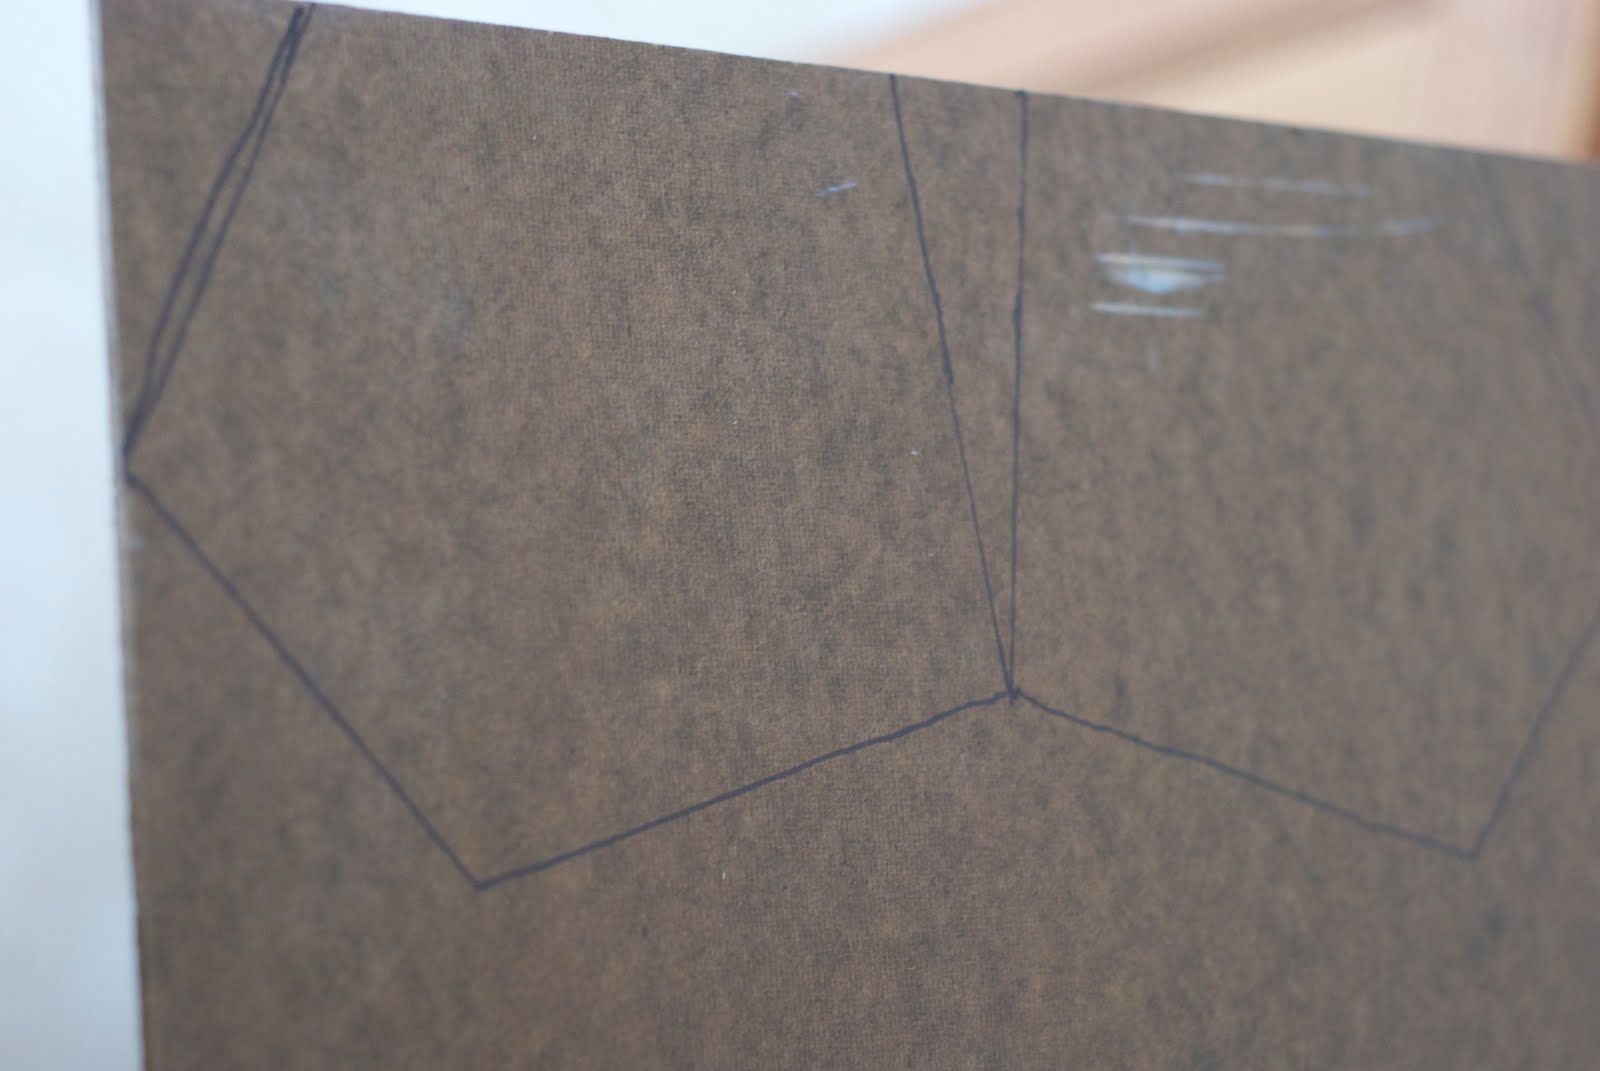
2. Trace your pattern pieces on the masonite, being careful to not overlap the pieces.


3. Give lots of kisses and hugs to your man and ask him very politely while wearing high heels and a little black dress if he will cut out your gingerbread house (using a jigsaw) for you. :) Or do it yourself, which is a lot less fun for you both.


4. Now your house is ready to decorate! Mine is not decorated due to the insane amounts of sickness in the family recently. Just use your imagination. Ha ha!

Thursday, March 3, 2011

El Cheapo 2: The Original Scrap Book

I think you should all be very proud of me :) It took enormous amounts of self control, but I kept this project under wraps. This is a really cool project-it is indeed a scrap book. It was virtually free. Soooo cool!


Materials:
magazines-free
large brown paper bag-free
1 button, brad, or clasp of some kind
25 sheets of 8X11 paper
Vinyl letters- I got mine for $1 during the American Crafts warehouse sale
Metal ruler
Utility knife
Glue


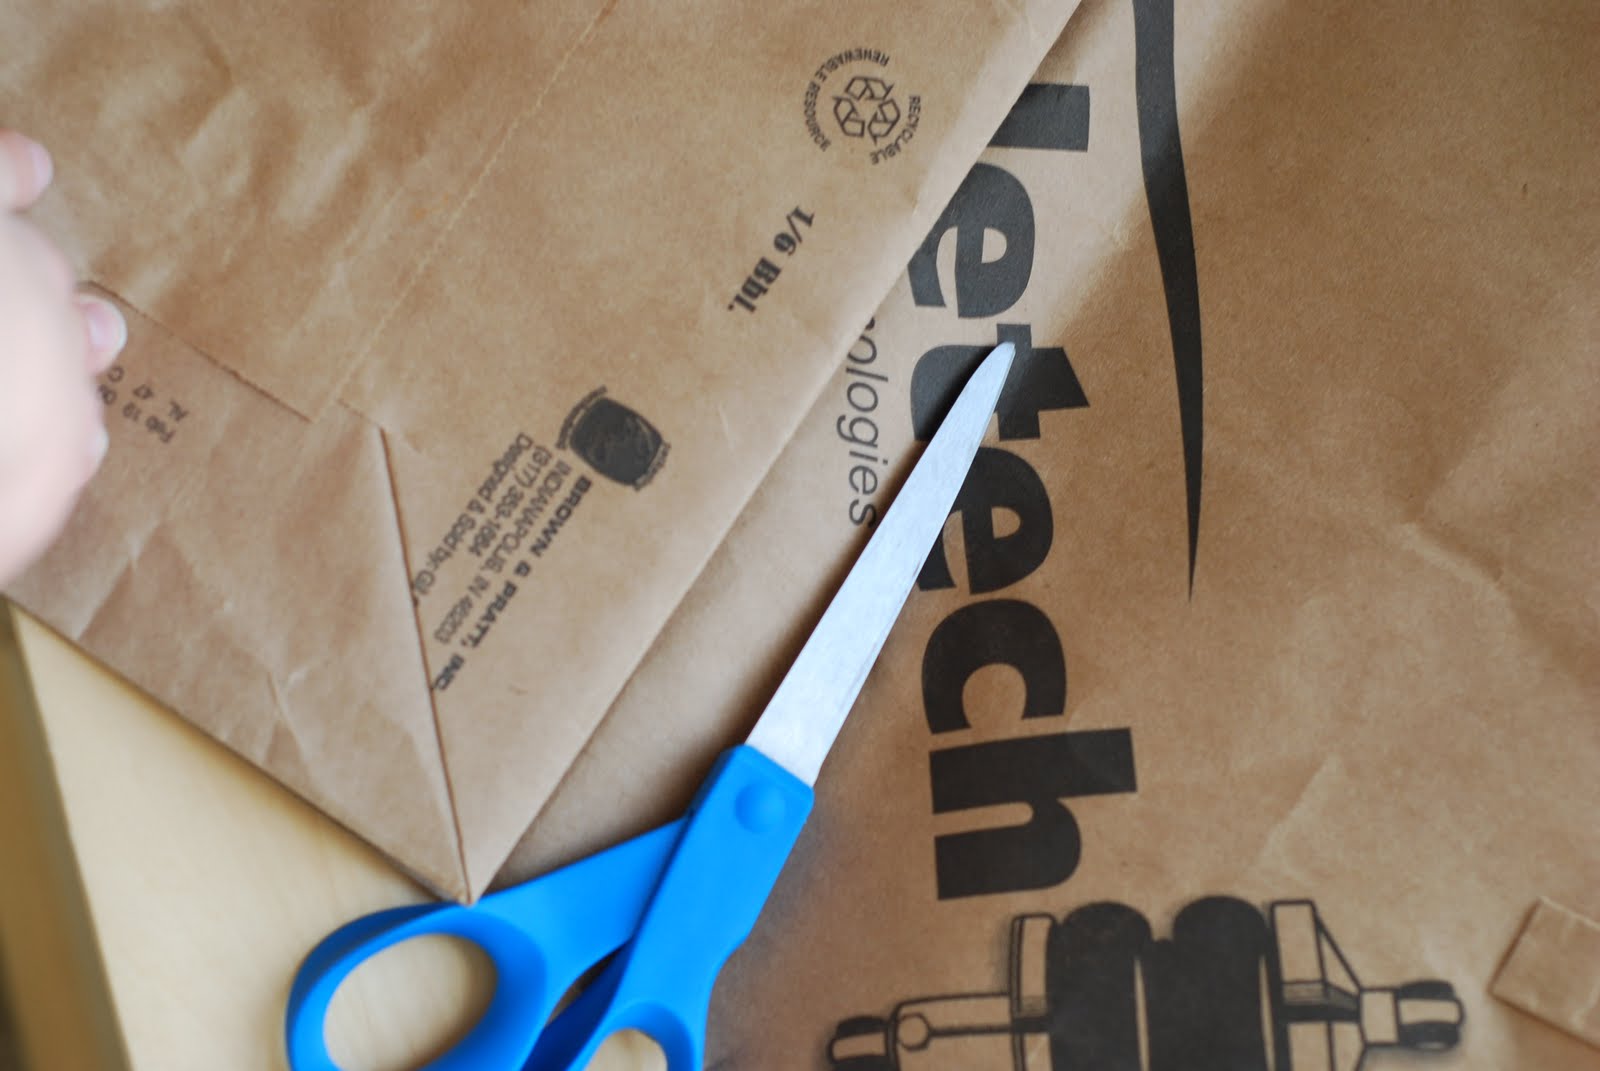
1. Cut off the bottom of the bag, leaving the unfolded long side connected. Now it should be double thick.


2.Fold the bag bottom almost in half, leaving about 1-1 1/2" hangover.


3. Find pictures that inspire you and tear them out. It's okay if things are rough, it just adds to the "artsyness" of it all.


4. Glue them randomly to the outside of your paper bag.


5. Accent your picture collage with marker or rubons.


6. Have fun and sew around the pictures, using a variety of stitches.


7. Zig zag stitch around the outside of your entire project. Place your vinyl lettering and sew it down using a variety of stitches.


8. Punch a hole for your brad and attach it, or sew on your button. :)

*Can you see the little hole in the book cover?


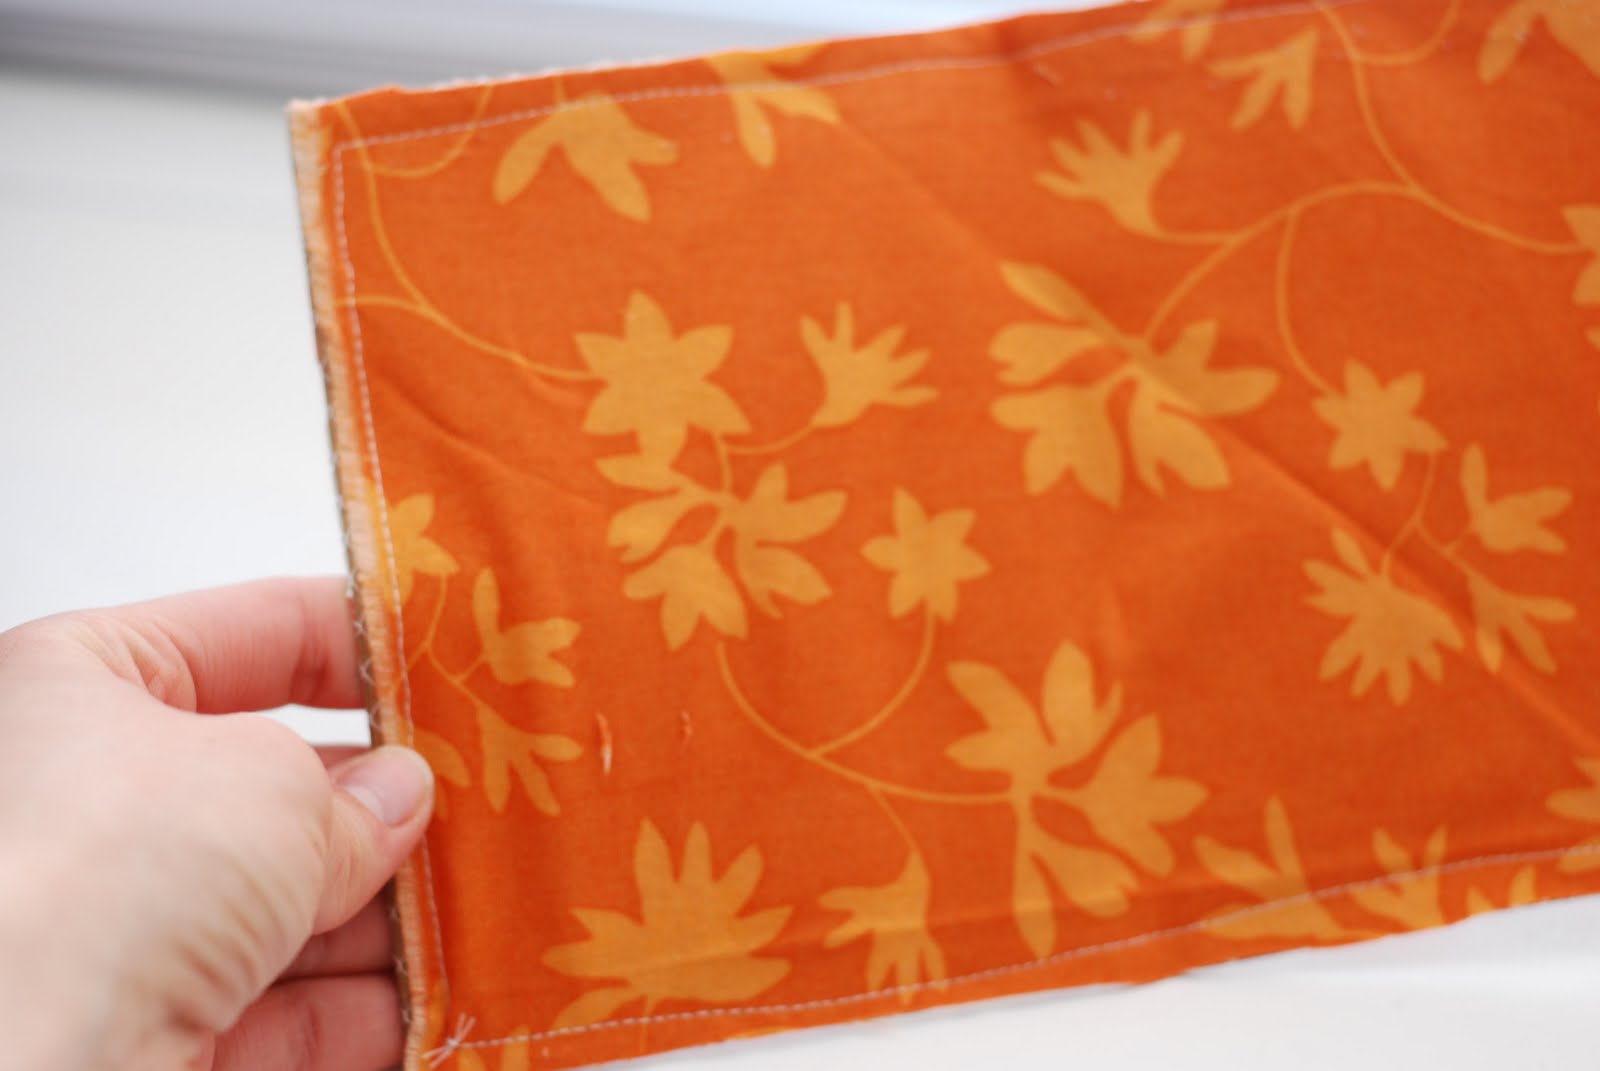
9. Find some fabric from your stash that is complementary and cut it the same size as your book cover.


10. Using a straight stitch, sew the fabric to the inside of your cover, making sure to sew in a bit of elastic to the 1" overhang right across from the button/brad.


11. Take your 8 1/2X11 sheets of paper and fold them in half and cut them. They are now 8 1/2X5.5. Fold in half again, now 4 1/4X5.5. In my book, I had five 10 sheet folios for a total of 50 pages.


12. Sew each folio down the center to the inside of the cover.


13. Trim the edges to even things up using a metal ruler and a utility knife. You're done! Hooray!